

Automatic IRP Reporting
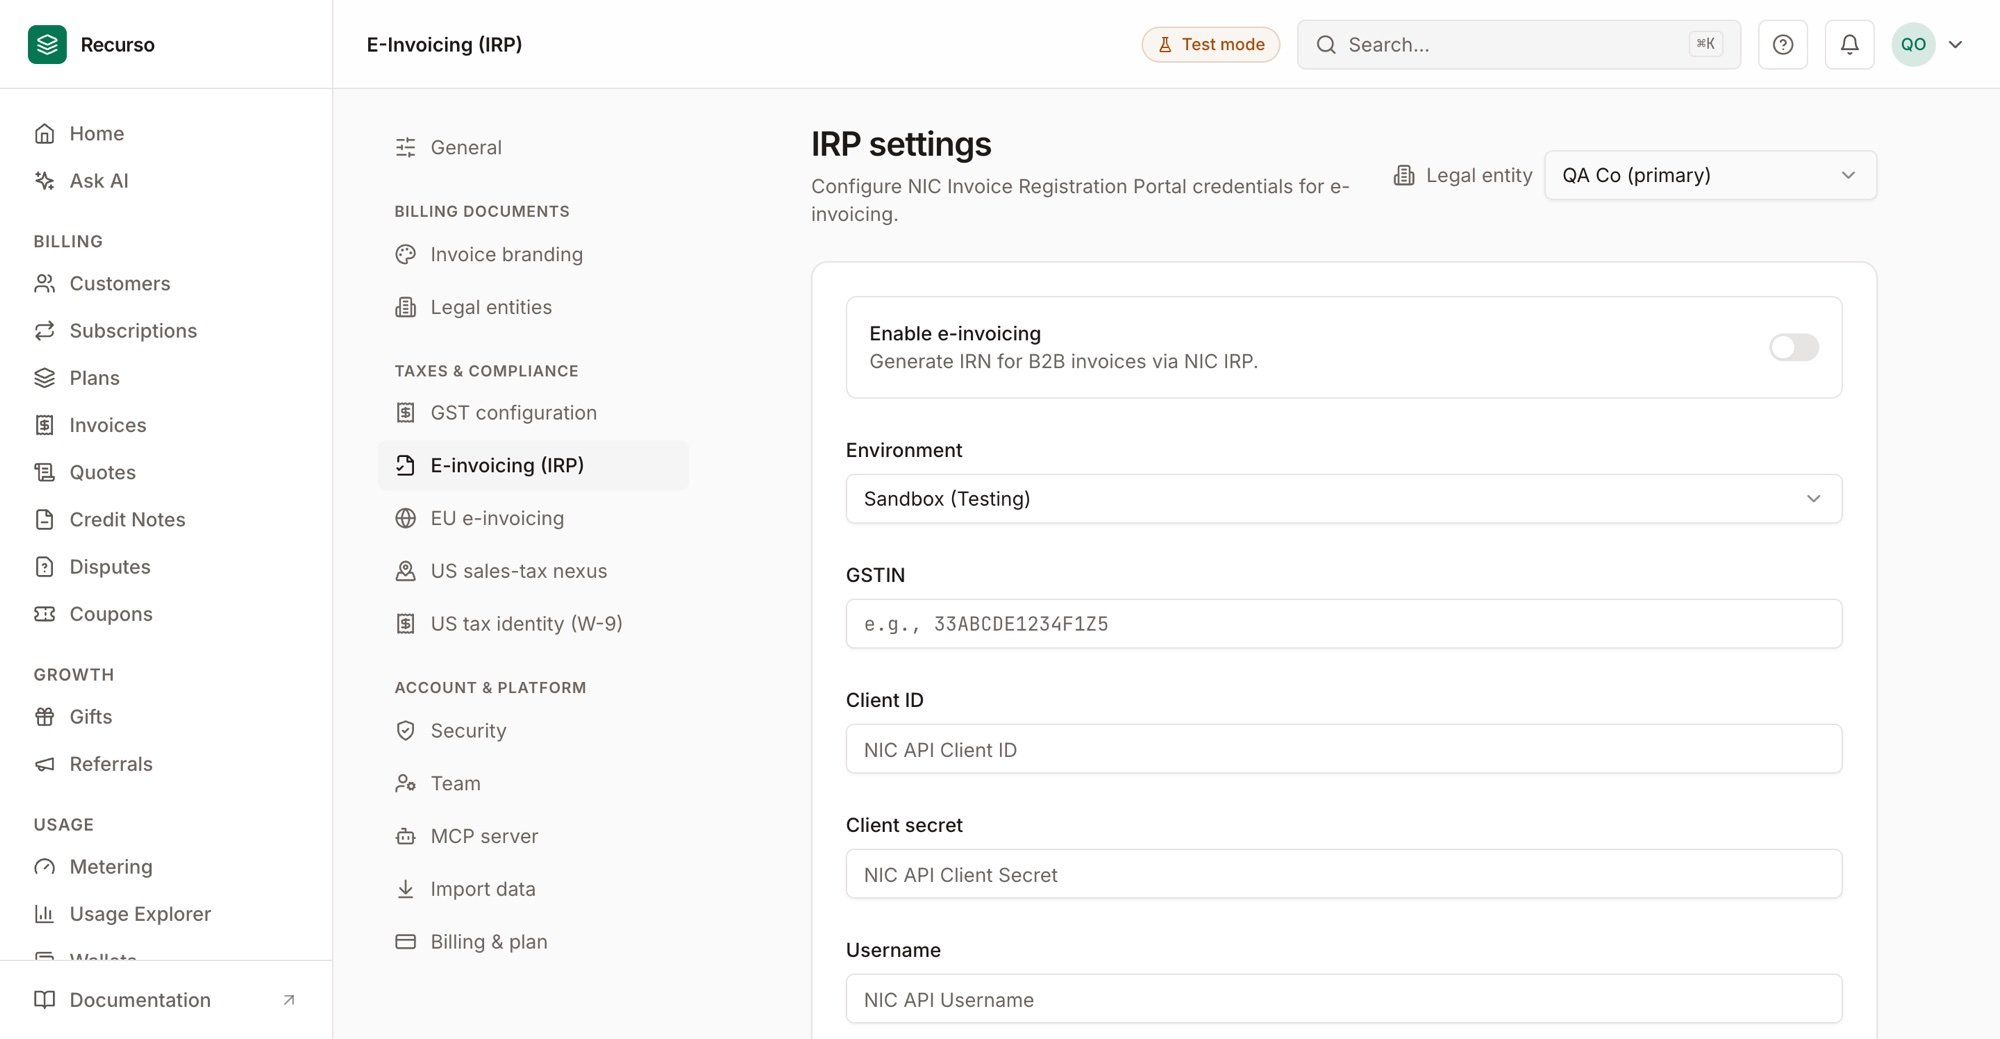
E-invoicing (IRP) settings
- Auto-submit invoices to the IRP when they are finalized
- Generate IRN (Invoice Reference Number) for each invoice
- Attach signed QR codes for verification
- Retry failed submissions automatically
- Cancel e-invoices when needed
E-invoicing is mandatory for businesses with aggregate turnover exceeding the applicable threshold (currently Rs. 5 crore). Recurso handles the technical integration so you can focus on your business.
How It Works
Configure IRP Credentials
Before e-invoices can be submitted, configure your IRP connection credentials. Recurso supports both sandbox and production environments.Update IRP Configuration
IRP Configuration Parameters
View Current Configuration
Retrieve the current IRP configuration. Secrets are returned in a masked format for security.Test IRP Connection
Validate that your credentials are correct and the IRP portal is reachable before going live.Automatic Submission
Once IRP credentials are configured andis_enabled is set to true, Recurso automatically submits every finalized invoice to the IRP. No additional API calls are needed.
1
Invoice is finalized
When an invoice transitions to the
finalized status (via subscription billing or manual finalization), Recurso prepares the e-invoice payload in the NIC-prescribed JSON schema.2
Submission to IRP
The payload is sent to the IRP. On success, the IRP returns an IRN, acknowledgement number, and a digitally signed QR code.
3
E-invoice data stored
Recurso attaches the IRN and QR code to the invoice record. The e-invoice status is updated accordingly.
4
Webhook notification
A webhook event is fired so your application can update its UI or trigger downstream processes.
Check E-Invoice Status
Retrieve the e-invoice status for any invoice.E-Invoice Statuses
Retry Failed E-Invoices
If a submission fails (network error, IRP downtime, validation issue), retry it after fixing the underlying problem.Cancel an E-Invoice
E-invoices can be canceled within 24 hours of generation on the IRP. You must provide a cancellation code and reason.Cancel Codes
Webhooks
Example Webhook Payload
IRP Configuration Object
Best Practices
Start with sandbox environment
Start with sandbox environment
Always configure
environment: "sandbox" first. Submit a few test invoices to verify your GSTIN, address details, and SAC/HSN codes are accepted by the IRP before switching to production.Test your IRP connection before going live
Test your IRP connection before going live
Use the
POST /v1/settings/irp/test endpoint after every credential change. This validates connectivity without submitting an actual invoice.Monitor failed submissions
Monitor failed submissions
Subscribe to the
einvoice.failed webhook and set up alerts. Common issues include expired IRP tokens, incorrect buyer GSTIN, or missing address fields. Resolve errors promptly and use the retry endpoint.Handle cancellations within the 24-hour window
Handle cancellations within the 24-hour window
If you need to cancel an e-invoice, act within 24 hours of IRN generation. After that, you must issue a credit note via
POST /v1/credit-notes and generate a new e-invoice for the credit note.Keep customer GSTIN data accurate
Keep customer GSTIN data accurate
E-invoice failures often stem from incorrect buyer GSTIN or address. Validate GSTIN at customer creation time using the GST portal’s public API and keep billing addresses up to date.
Store IRN for your records
Store IRN for your records
The IRN is your proof of compliance. Store it alongside the invoice in your system and include it on printed/PDF copies of the invoice. The signed QR code should also be embedded in invoice PDFs.