

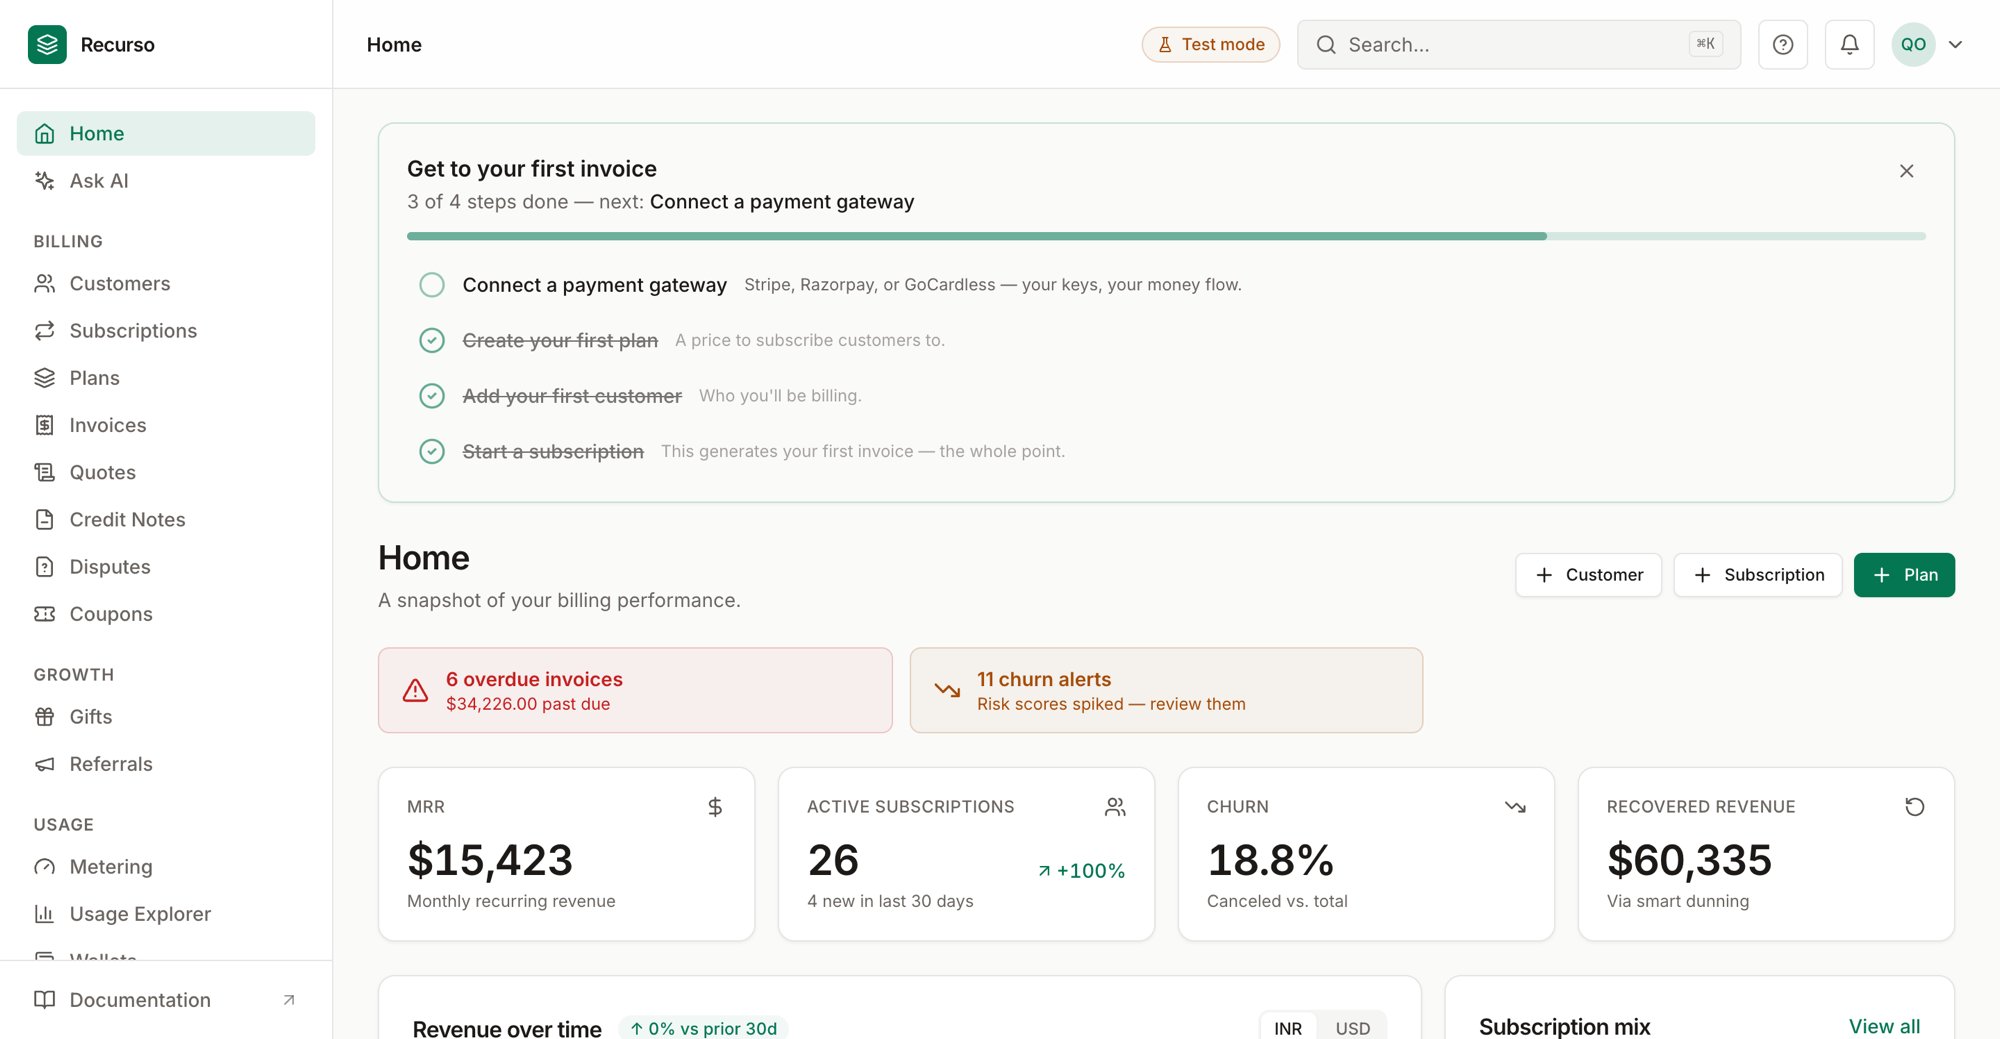
The Recurso dashboard after first sign-in
Using Recurso Cloud? You can skip the installation steps below. Cloud users receive API credentials after joining the waitlist — learn more.
Installation
Choose your preferred setup method:- Docker (Recommended)
- From Source
- Cloud (Early Access)
Configuration
Set these environment variables:.env
Create an API Key
-
Start the dashboard — a React app in the
frontend/directory of the repository: -
Open the dashboard at
http://localhost:5173(the Vite dev server proxies API calls to the API athttp://localhost:8080) - Navigate to Settings → API Keys
- Click Create API Key
- Copy and store securely
Optional: Load Demo Data
Want a populated dashboard before creating anything yourself? Seed the dev database with a sample tenant — plans, customers, subscriptions, invoices, events, and a webhook endpoint:sk_test_12345 and
explore. When you’re done exploring, run make seed again for a clean slate
or register your own tenant.
In dev, any emails the system sends (invoices, dunning notices, and so on)
are captured by Mailhog — view them at http://localhost:8025.
Want a public, safe-to-share sandbox instead of a local dev stack?
docker compose -f docker-compose.demo.yml up -d runs Recurso in
demo mode — mock gateways, blocked destructive
settings, auto-login, and an hourly reset.Create Your First Plan
1
Create a pricing plan
Amounts are always minor units —
4999 is ₹49.99.2
Add a customer
3
Start a subscription
That’s a running billing stack: the subscription invoices itself every
period, usage rates onto the same invoice, and every posting lands on
the ledger.
http://localhost:8080/checkout/<invoice-id> (see
Payments) — or bill accrued usage immediately with
POST /v1/subscriptions/{id}/bill-usage.4
Record usage (metered pricing)
If the plan carries usage charges, report events as they happen — they
aggregate into billable metrics and rate onto the next renewal invoice:Batch up to 500 events per call at
/v1/usage/events/batch with a
transaction_id per event for idempotent retries — see
usage-based billing.5
Handle webhooks
6
Watch the books balance
This is the part most billing tools don’t have. Every event you just
triggered — the invoice, the payment, the usage — posted balanced
double-entry rows to a real ledger. Ask Recurso to prove it:
total_discrepancies: 0 is the whole point: every billing record
ties to its ledger postings, down to the minor unit. That check runs
daily in production, and the same invariant is enforced in CI on every
commit to Recurso itself. Read how the postings work in the
Ledger guide.