

How gateway routing works
Recurso charges through a payment gateway. You can run one gateway for the whole deployment (via environment variables), or let each tenant bring their own Stripe, Razorpay or GoCardless account so funds settle directly to them. Currency decides routing — INR → Razorpay, USD → Stripe, and for mandates EUR/GBP → GoCardless (SEPA/Bacs bank debit). Without any gateway configured, a built-in mock gateway is used (dev/testing only).See Payment Gateways for the full multi-gateway
architecture, smart routing, and per-gateway feature notes.
Prerequisites
- A running Recurso instance — quickstart — with access to its environment / secret manager.
- A Stripe, Razorpay, or GoCardless account with its API keys and webhook secret.
Option A — Platform gateway (environment)
For a single-tenant or self-managed deployment, configure one provider via the environment:.env
Option B — Bring-your-own gateway (per tenant)
Let a tenant connect their own account so autopay (save card + renewal + dunning- wallet recharge) runs on their gateway.
Step 1: Configure the credential vault key (once)
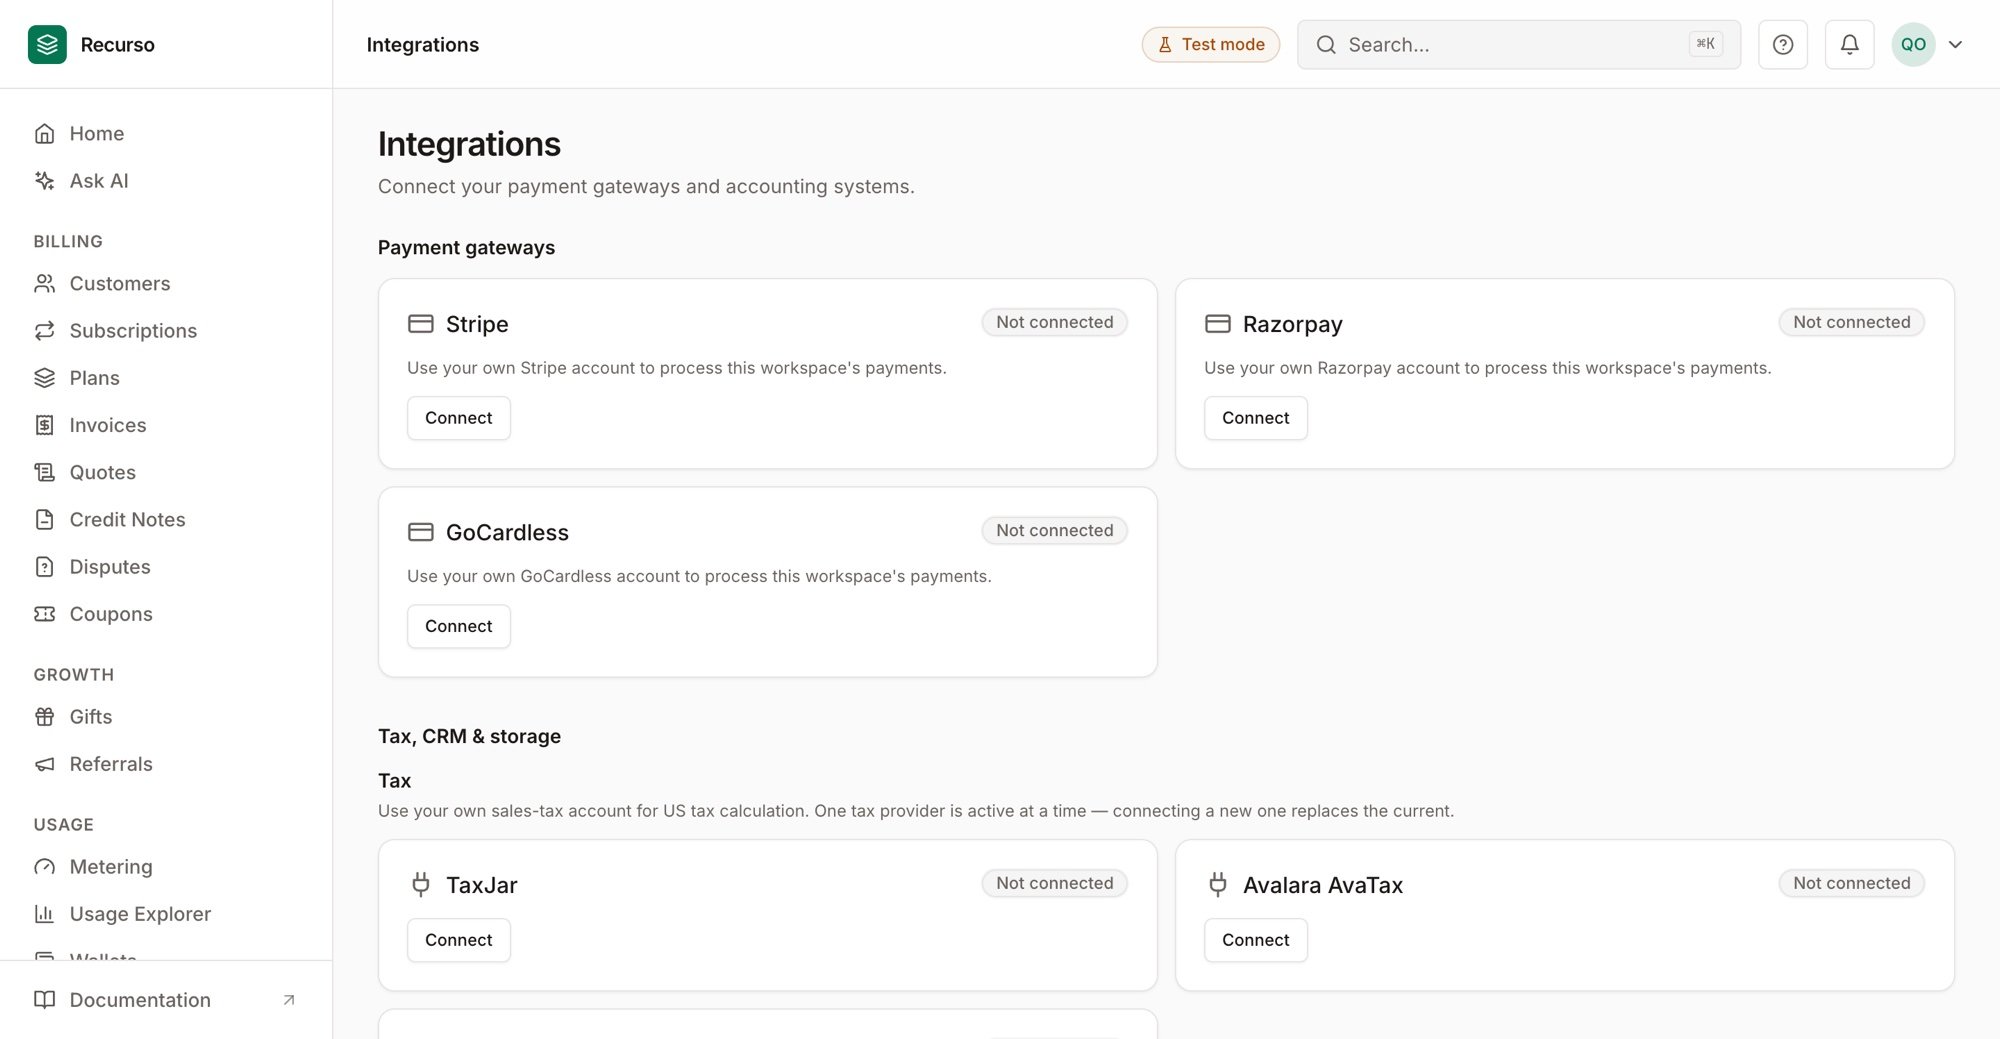
Integrations — connect Stripe, Razorpay, or GoCardless with your own keys
Step 2: Connect the tenant’s gateway
In the dashboard, go to Integrations → Payment gateways and connect Stripe, Razorpay or GoCardless with the tenant’s own credentials, then set the gateway’s webhook secret so payment outcomes are verified. Each tenant’s credentials are encrypted and used only for that tenant.GoCardless needs only a read-write access token (no publishable key).
Sandbox and live are separate accounts: sandbox tokens (
sandbox_...) come
from manage-sandbox.gocardless.com and
pair with Test mode; live tokens (live_...) from
manage.gocardless.com pair with Live mode —
Recurso rejects a mismatched pair at connect time. Once connected, EUR (SEPA)
and GBP (Bacs) mandates and debits route through the tenant’s GoCardless.Step 3: Confirm autopay routes to it
Once connected, saved cards, renewals, dunning retries, and wallet auto-recharge for that tenant charge on their gateway — routed to the account where the card was saved.Bank-debit mandates (GoCardless)
Bank debit is mandate-first and asynchronous — three things must be true:- Webhook endpoint registered. In the GoCardless dashboard add a webhook
endpoint pointing at
https://<your-api>/webhooks/gocardless(platform) or the per-connection URL shown on the Payment Gateways card (BYO), and set the same secret inGOCARDLESS_WEBHOOK_SECRET/ the connection’s webhook secret. Without it, authorized mandates staycreatedand never debit. - Mandate authorized by the customer. Create a EUR/GBP mandate from the
Mandates page (or API) and send the customer the returned authorization
link — they confirm on GoCardless’s hosted page. The
billing_requests.fulfilledwebhook then activates the mandate. - Settlement lands later. Debits are created immediately but settle in
days: the invoice stays open until the
payments.confirmedwebhook marks it paid. Failed debits leave the invoice open for dunning automatically.
Verify your setup
1
A gateway is active (not mock)
On boot the API logs the gateway mode; the dashboard shows a connected gateway
rather than “using the platform/mock gateway”.
2
A test charge settles
Run a checkout or an autopay renewal and confirm the payment succeeds and the
invoice is marked paid.
3
Webhooks arrive
A gateway webhook (e.g. payment succeeded) maps to a Recurso event and updates
the invoice.