

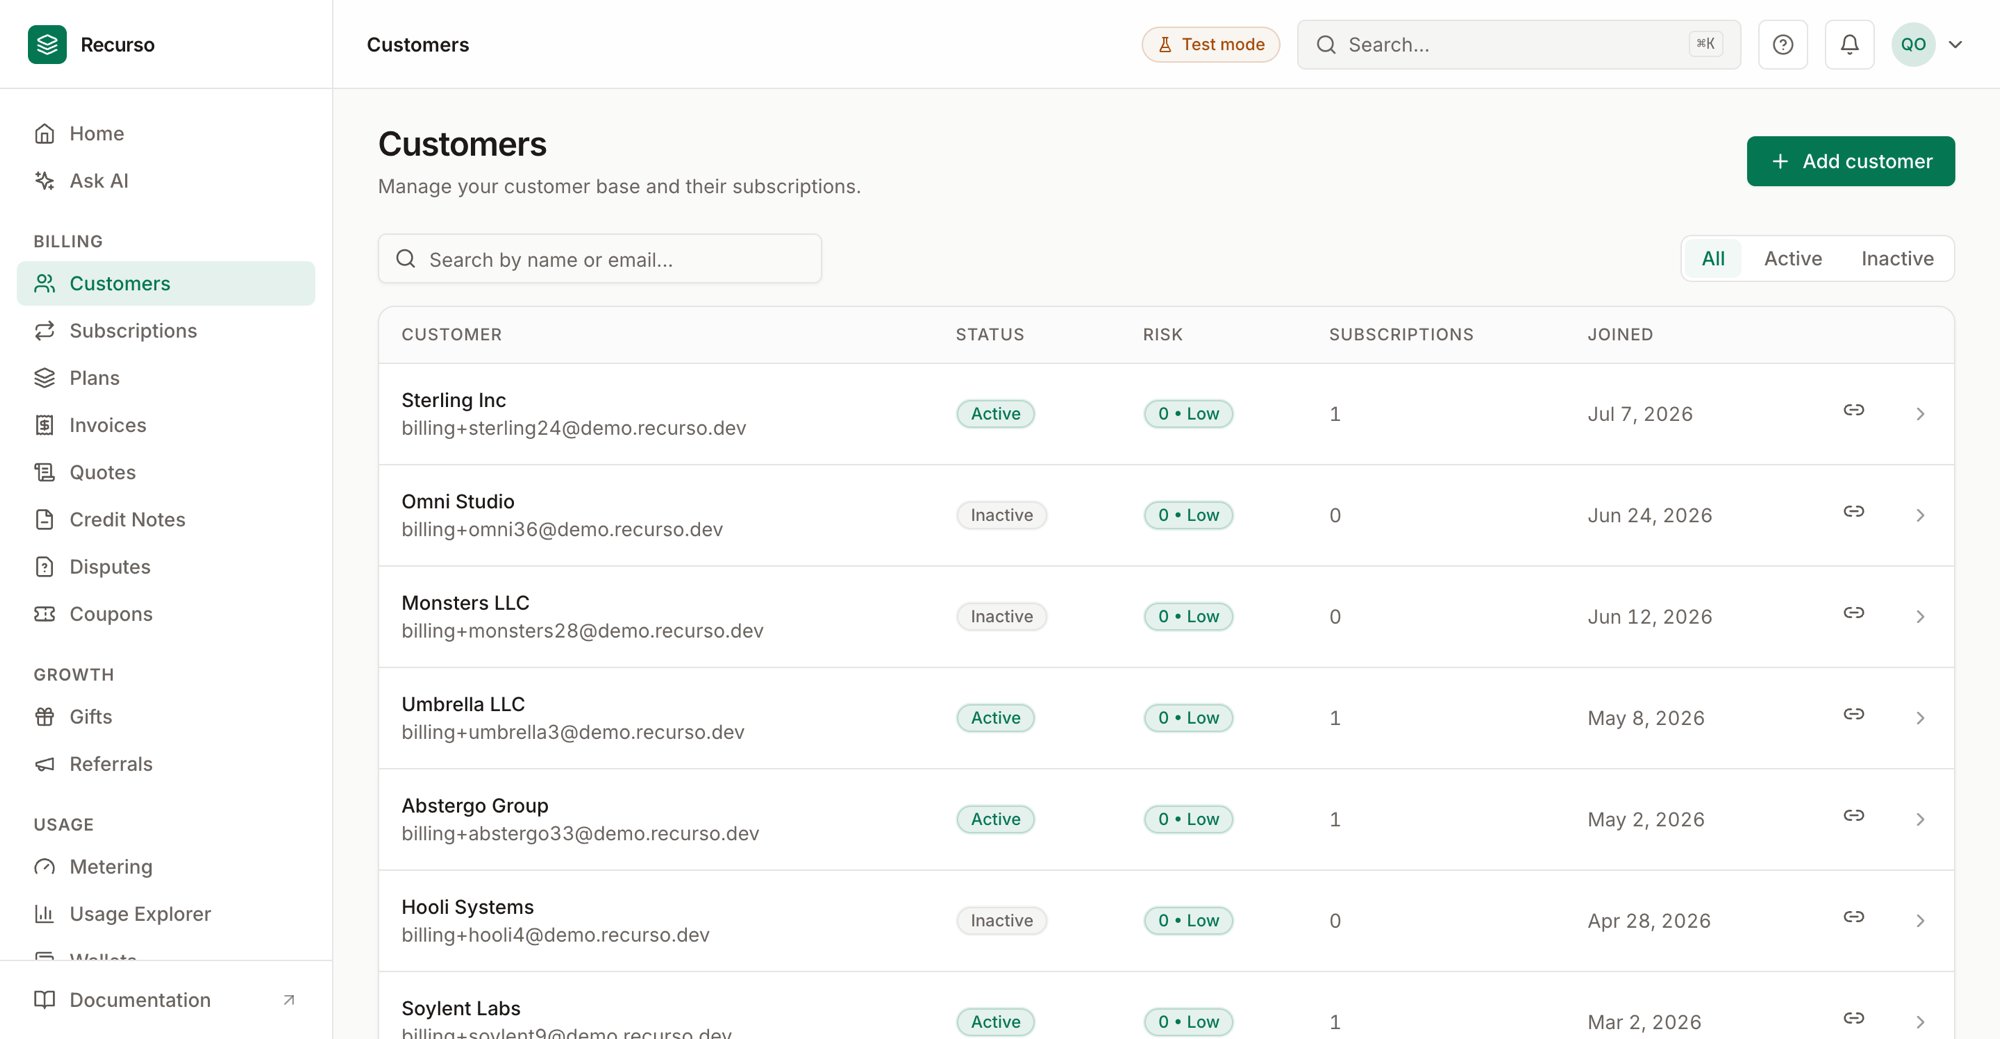
The Customers page in the Recurso dashboard
The customer list
Each row shows:The Risk badge is colored by score: green (Low, under 20), amber (Medium,
20–49), and red (High, 50+). It only appears once a churn score has been
calculated.
Search and filter
- Search by name or email — the box debounces, so results update shortly after you stop typing.
- A status toggle filters between All, Active, and Inactive.
- Paging is server-driven; use Prev / Next at the bottom (10 per page).
Copy portal link
The link icon at the end of a row copies a portal login link prefilled with the customer’s email. The customer enters the self-service portal via a magic-link login — see Customer portal.Add a customer
Click Add customer (top right, or from the empty state). A right-side sheet opens with two sections.1
Contact information
Customer name and Email are required; Phone is optional. The
form validates that the email is well-formed before it will submit.
2
Billing details
Enter a Billing address, then pick a Country (United States, India,
Canada, or United Kingdom) and a State / Province.
Choosing India switches the last two fields to Place of supply
(State) — picked from a list of Indian states — and GSTIN, so tax is
handled correctly for Indian customers. Other countries show a free-text
Tax ID / VAT Number.
3
Create
Click Create customer. The new customer appears in the list
immediately. Cancel closes the sheet without saving.
Customer detail
Click any row to open the Customer details sheet. It shows the customer’s name, email, and badges for archived status and active-subscription count, followed by grouped fields:- Contact — email and phone.
- Billing & tax — billing address, tax type, GSTIN, and place of supply (shown only when there’s something to display).
- Record — customer ID, joined date, churn risk, active subscription count, and referral code if one exists.
Edit a customer
Click Edit customer to switch the panel into an inline form. You can update name, email, phone, GSTIN, place of supply, and the full billing address (line, city, state, ZIP, and ISO-2 country). Click Save customer to apply, or Cancel to discard. Email cannot be left blank.Archive / restore
Click Archive to remove a customer from active use. A confirmation dialog explains what happens.Account credit
When a customer has account credit, the detail panel shows an Account credit section:- Available balance chips, one per currency — the credit that can be applied to invoices right now.
- Grants — every credit note, with its status, type, amount, remaining balance, and expiry (or “expired”).
- Applied to invoices — the draw-down history.
- Export CSV — download the statement (grants + applications) for the customer’s finance team to reconcile.
Where to go next
Subscriptions
Put a customer on a recurring plan.
Invoices
See what a customer has been billed.