

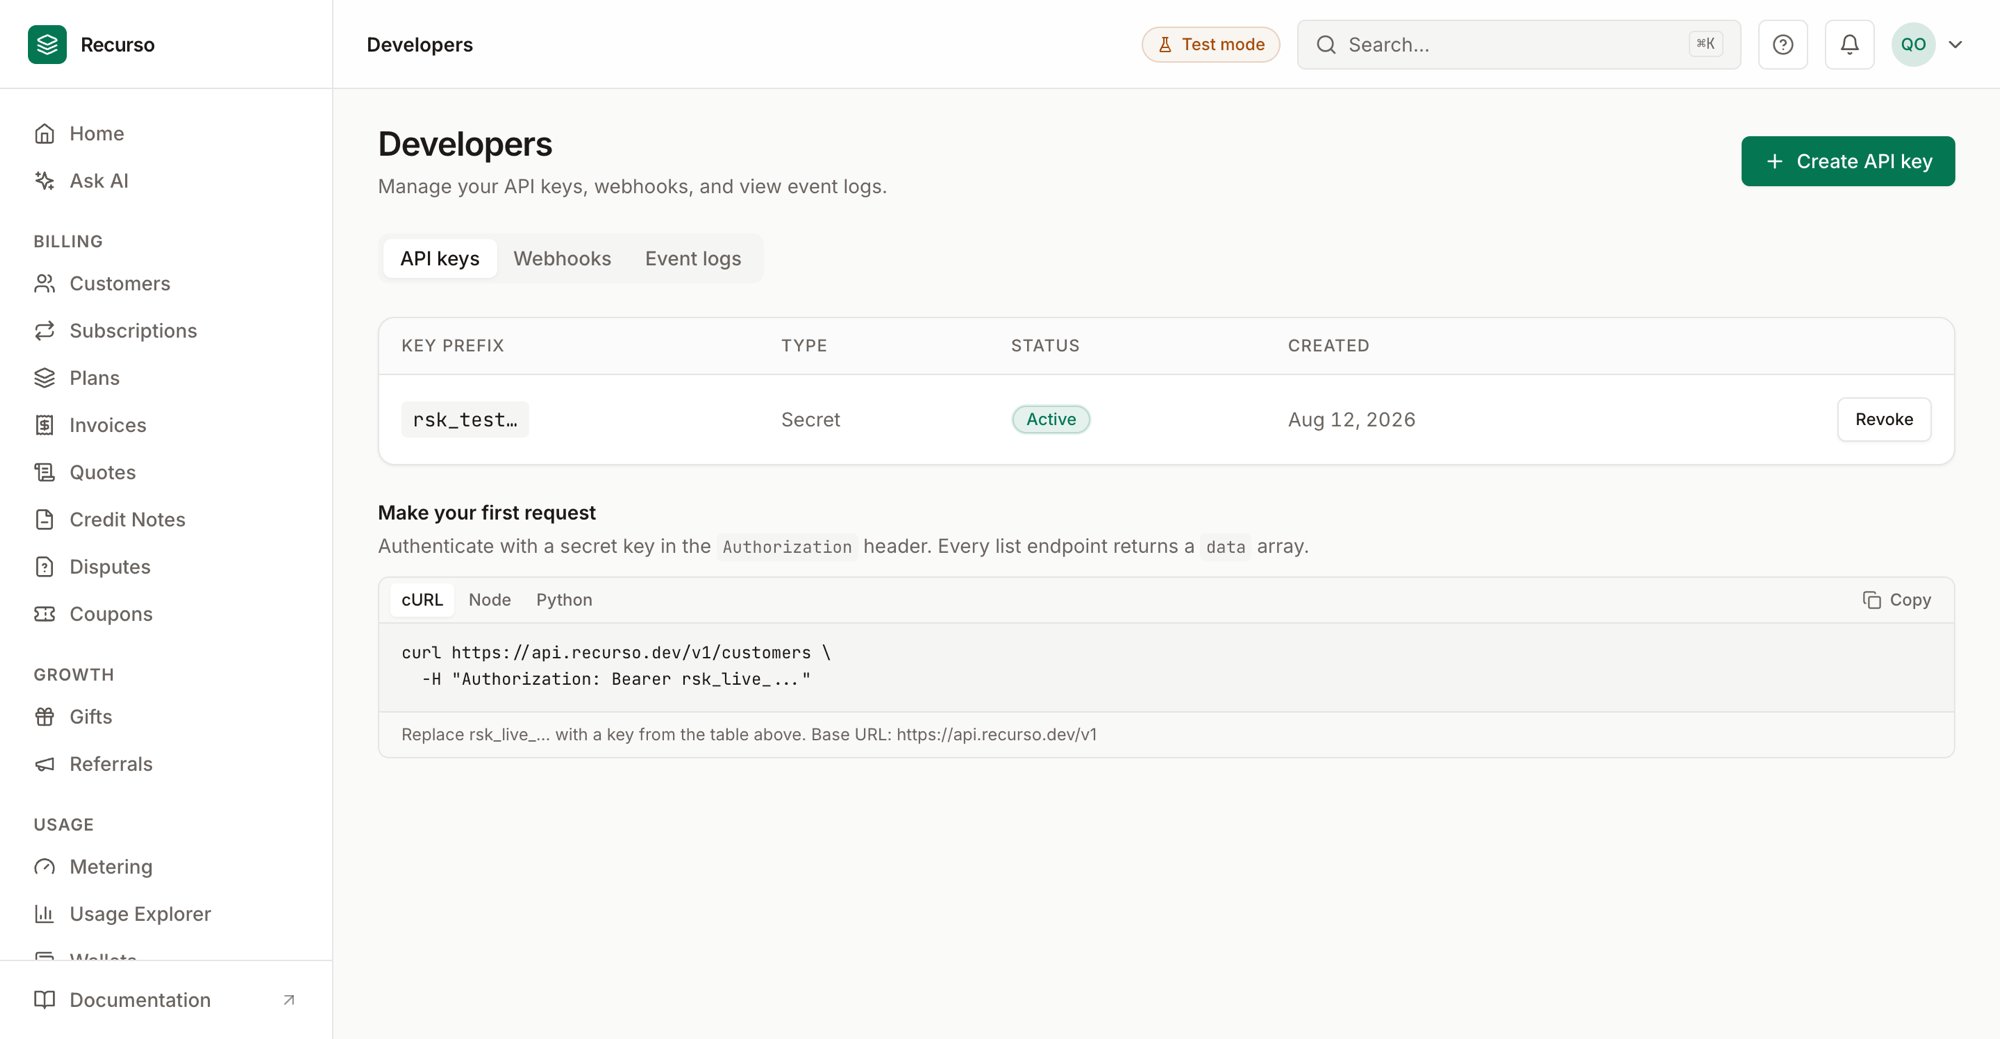
The Developers page in the Recurso dashboard
The three tabs
Developers (labeled Developer settings in the page header) is where you manage the credentials and event plumbing that connect Recurso to your own systems. It has three tabs:- API keys — secret keys that authenticate your API and SDK requests.
- Webhooks — endpoints Recurso POSTs events to in real time.
- Event logs — the history of events your account generated, with per-event delivery attempts and one-click redelivery.
Anything you do here you can also do with the API — these screens are the UI over
the same
/developer and /webhooks endpoints the SDKs use.API keys
The API keys tab lists each key by its prefix (the full value is only shown once, at creation), its type, status (Active / Inactive), and created date.1
Create a key
Click Create API key. A dialog shows the newly generated secret key with
a Copy button.
2
Rotate or revoke
To rotate, create a new key, move your integrations onto it, then Revoke
the old one. Revoking is immediate and permanent — anything still using the
revoked key starts receiving
401 responses. Revoke is only offered for
active keys.Webhooks
The Webhooks tab lists each configured endpoint as a card showing its URL, the event types it subscribes to, a masked signing secret (whsec_•••), and its
status badge (Active / Inactive).
1
Add an endpoint
Click Add endpoint. In the side panel enter the Endpoint URL and tick
the event types you want delivered there. Click Create endpoint.
2
Save the signing secret
On success the panel reveals the endpoint’s signing secret. Copy it and
store it securely — like an API key, it is shown only once. Use it to verify
the signature on each incoming request so you know it came from Recurso.
3
Pause, resume, or delete
Each card has Pause / Resume (stops or restarts deliveries while
keeping the config and secret) and a delete button. Deleting stops deliveries
to that URL immediately; past delivery history is retained.
View deliveries for an endpoint
Click View deliveries on an endpoint card to open a panel of its recent delivery attempts. You can filter by status (All / Pending / Succeeded / Failed) and refresh. Each delivery shows the event type, a status badge, attempt count, last HTTP status code, timestamp, next retry time, and — on failure — the last error returned.Event logs
The Event logs tab shows the most recent events your account generated. Use the event-type filter to narrow the list and the refresh button to reload.1
Inspect an event
Click any row to expand it. You’ll see the event id, its delivery attempts
(loaded on demand, one entry per endpoint with status, attempts, status code,
delivered / next-retry times, and any error), and the raw JSON payload.
2
Redeliver
In the expanded row, click Redeliver to re-queue the event to every
matching endpoint. A toast confirms how many endpoints it was queued to, and
the delivery list refreshes.
The event-type filter runs over the fetched window (the latest events), so a
type with no recent events shows an empty result. Redelivery targets the
webhook endpoints subscribed to that event type — configure them on the
Webhooks tab first.
Related
Integrations
Connect your own payment gateway and accounting system.
Notifications
In-app delivery of the same billing events.