

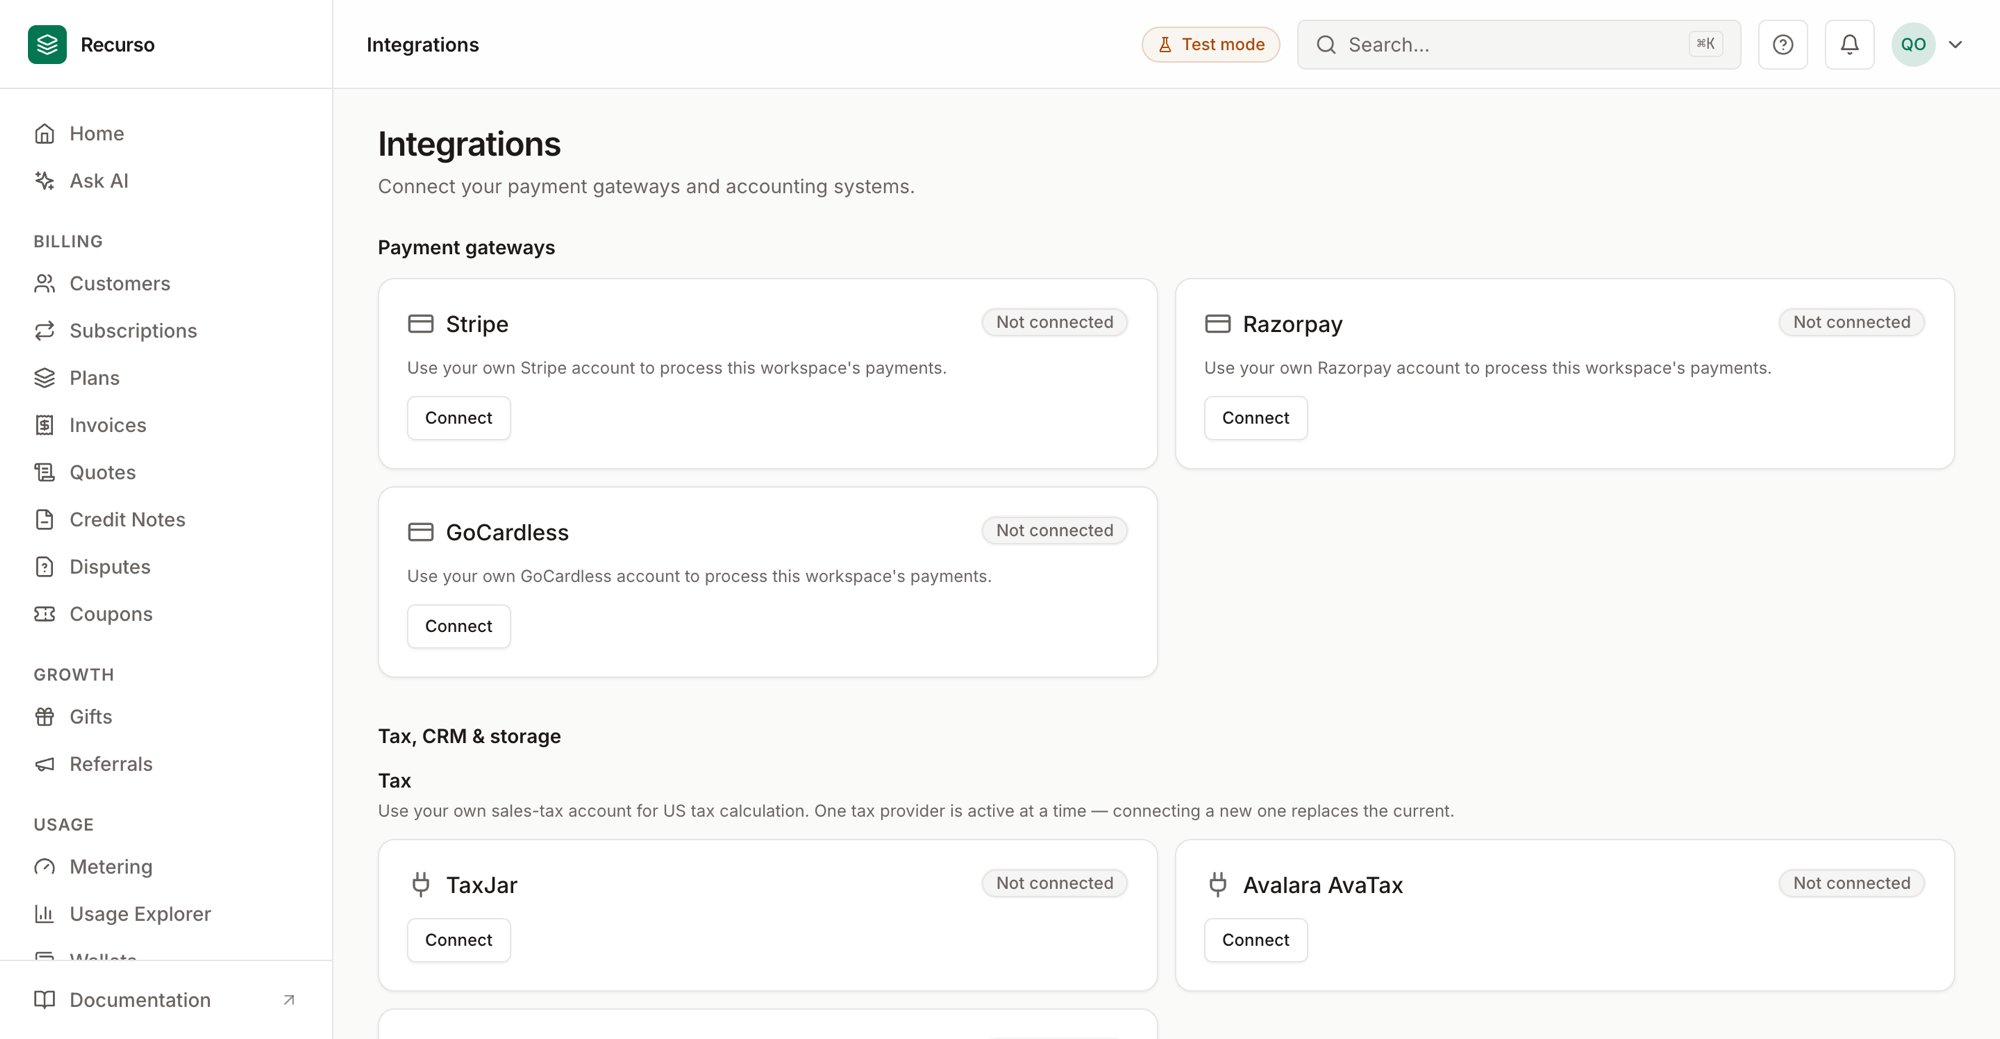
The Integrations page in the Recurso dashboard
Gateways and accounting
Integrations (in the left nav) is where you connect the third-party services Recurso plugs into. It has two areas:- Payment gateways — bring your own Stripe or Razorpay account so payments run through your merchant account.
- Accounting — sync customers, invoices, and payments to QuickBooks, Xero, NetSuite, or Tally.
Connecting or disconnecting an integration is limited to owners and admins.
Payment gateways
By default, payments route through the platform gateway configured on the server. Connecting your own gateway makes Recurso create, verify, and receive webhooks for payments on your Stripe/Razorpay account instead — per workspace.1
Open Integrations → Payment gateways
Each supported gateway (Stripe, Razorpay) shows a card with its status:
Not connected, or a Test/Live badge once connected.
2
Connect a gateway
Click Connect. In the side panel choose Test or Live, then paste
your gateway keys:
- Stripe — publishable key (
pk_…) and secret key (sk_…). - Razorpay — key id (
rzp_…) and key secret.
3
Set up the webhook
Copy the Webhook URL shown on the card. In your Stripe or Razorpay
dashboard, create a webhook endpoint pointing at that URL, then paste the
signing secret it gives you back into the webhook secret field and click
Save. The card then shows a green Signing secret set check.
The webhook URL is unique to this connection, so Recurso can verify each
event with the right account’s secret. The URL stays the same if you update
your keys later.
What connecting changes
Once a gateway is connected for a currency:
A currency you haven’t connected (for example, Razorpay for INR while you’ve
only connected Stripe) continues to use the platform gateway.
Update keys or disconnect
- Update keys — reconnect with new keys; the webhook URL is preserved.
- Disconnect — new payments fall back to the platform gateway. Existing transactions are unaffected, and you can reconnect at any time.
Accounting
Connect an accounting system to keep your books in sync — customers push before invoices, and provider IDs are reused so nothing is duplicated.1
Connect a provider
- QuickBooks / Xero — click Connect and complete the OAuth redirect.
- NetSuite / Tally — click Connect and enter the account id / access token in the side panel (no redirect).
2
Sync
With a connection active, Sync now appears in the page header. Sync is
incremental — only entities changed since the last run are pushed. The
Sync activity table shows each run’s status.
3
Disconnect
Removing a connection stops future syncs; already-synced records stay in
your accounting system.
Accounting connections are per workspace and store OAuth tokens server-side.
Which entities sync (customers, invoices, payments) depends on the provider.
Operator-configured integrations
Not every integration Recurso supports is connected from this page. Payment gateways and accounting are configured per workspace here; several others are operator-level — set once for the whole deployment via environment variables at server boot, not in the dashboard:
Some matrix entries aren’t credentials you configure at all: Zapier / n8n /
Make consume Recurso’s signed webhooks;
GST / IRP e-invoicing and tax nexus are set in
Settings; SSO in Team & security;
outbound webhooks in Developers.
For the full matrix — every integration, its status, and exactly how it’s
configured — see the Integrations Overview.