

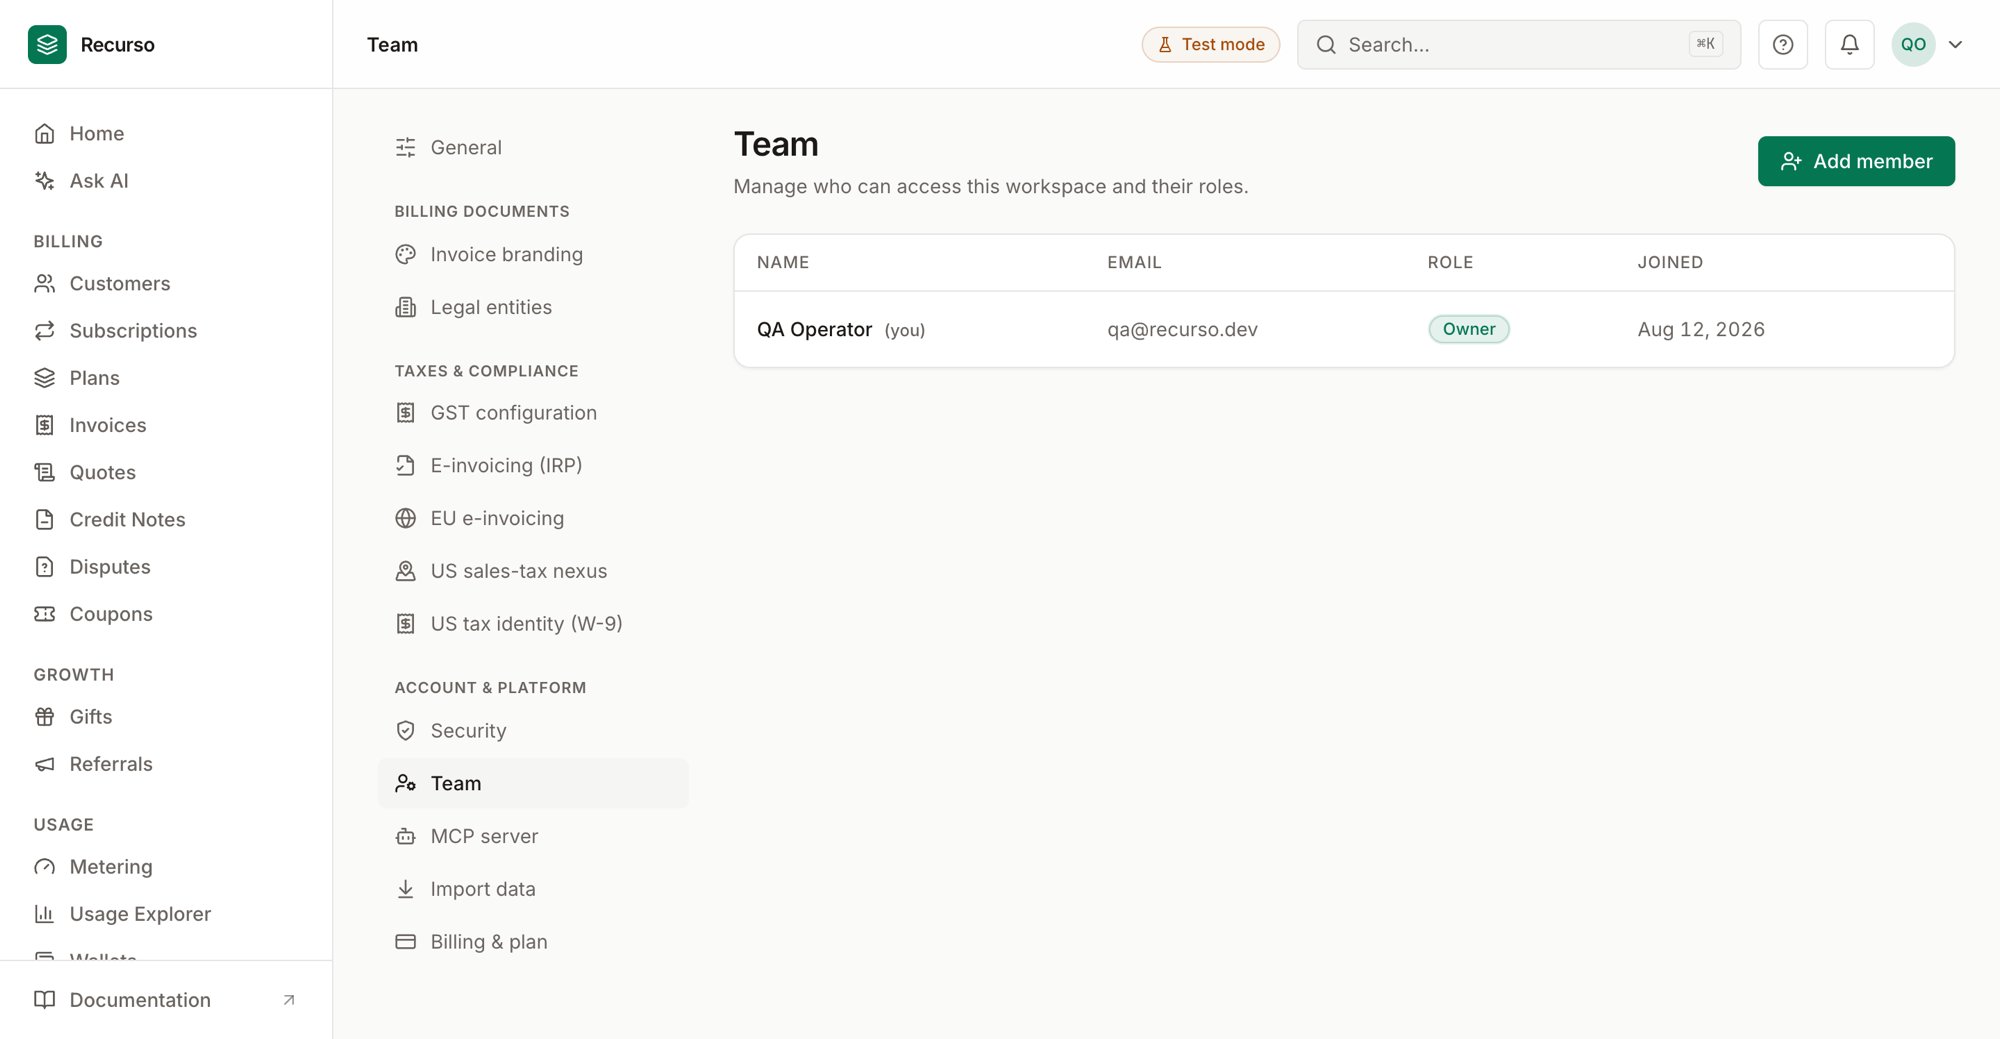
Team & security settings in the Recurso dashboard
Team, security, profile
This area covers three screens:- Team — who can access the workspace and their roles.
- Security — two-factor authentication, active sessions, and (for owners and admins) SAML single sign-on.
- Account profile — your account identity and how you’re signed in.
Team
Team lists every member with their name, email, role, and join date. Your own row is tagged (you).Adding, removing, and role changes are limited to owners and admins. Members
see the roster but can’t change it.
1
Add a member
Click Add member, enter their name, email, and role, and Send
invitation. They receive an email with a link to set their own password and
sign in.
2
Change a role
Use the role dropdown on a member’s row. You can’t change your own role from
here.
3
Remove a member
Click the trash icon on their row and confirm. They lose dashboard access
immediately; you can re-invite them later. You can’t remove yourself.
Security
The Security page holds two sections everyone sees, plus SSO for owners and admins.Two-factor authentication
Add a time-based one-time code (TOTP) as a second login step.1
Enable
Click Enable two-factor authentication. Scan the QR code with an
authenticator app (Google Authenticator, 1Password, Authy, …) — or enter the
shown key manually — then type the 6-digit code and Verify & enable.
2
Save backup codes
After enabling, Recurso shows one-time backup codes. Save or copy them —
each works once if you lose your authenticator, and they aren’t shown again.
3
Disable
Click Disable two-factor authentication and enter a current code to
confirm.
Active sessions
Lists your logged-in sessions with the device (user agent), start time, and expiry. Your current session is badged This device.- Revoke an individual session to sign it out.
- Log out all other sessions signs out every session except the one you’re using — handy after losing a device.
Single sign-on (SAML)
The SSO section is visible only to owners and admins.
1
Enter IdP details
Fill in the IdP Entity ID, IdP SSO URL, and the X.509 certificate
(PEM) from your identity provider, tick Enable SSO for this workspace, and
Save connection.
2
Hand back the SP details
Once saved, the page shows the ACS (Reply) URL and SP metadata URL.
Copy these into your identity provider to complete the trust.
3
Remove
Use Remove to delete the connection; members then fall back to
email/password or social login.
Account profile
The Account profile page is read-only. It shows your account name, a verified email address, and your tenant ID. Edit profile takes you to Settings to change company details. The Security card on this page adapts to how you’re signed in:- Session (email/password) login — links to Security settings for 2FA and sessions.
- API-key auth — links to Developers to manage your keys.
Related
Settings
Company details and India tax configuration.
Developers
API keys and webhook endpoints.